Tuesday, November 9, 2010

Blackberry Crisp


Hmm looks like I am back after my disappearing act. It’s been 5 months since I left my blog alone. If you ask me what happened, I might say my son’s vaccation is the culprit. Hmm but the the truth is that only half of it is true and the other half was my lazziness or I guess I was bored for a while. Well I started new things, I am a farmer and cafĂ© owner, who can grow or cook things in 2-8 hrs, how nice. I am talking about Face book and it’s endless applications.

Well coming back to our blackberry crisp, I made this for my husband’s office party. They were hosting a baby shower for a collegue . I had a big list of things ,but narrowed down to this one. The funniest part is that this is the first time I am making this dish and after he left with the dessert I was really worried about how it would taste. Luckily they liked it, the next day I made the same at home and we enjoyed it barely warm with a scoop of vanilla ice cream. Tangy ,sweet ,warm blackberry filling with crisp,cinnamony ( is it even a word?) sweet topping with creamy vanilla ice cream , the rest you can guess…….

Ingredients:

Filling:

Black berry- 4 cups
White sugar- 1/3 cup
Lemon juice- 2 tsp
Corn starch- 1tsp
Cinnamon- ½ tsp

Topping:

Flour: ½ cup
Packed Brown sugar: 1/2 cup
Cinnamon: ½ tsp
Quick cooking rolled Oats: ¾ cup
Salt: a pinch
Softened Unsalted Butter:4 tbsp/ 1 stick


Method:


Preheat oven to 375 degree.

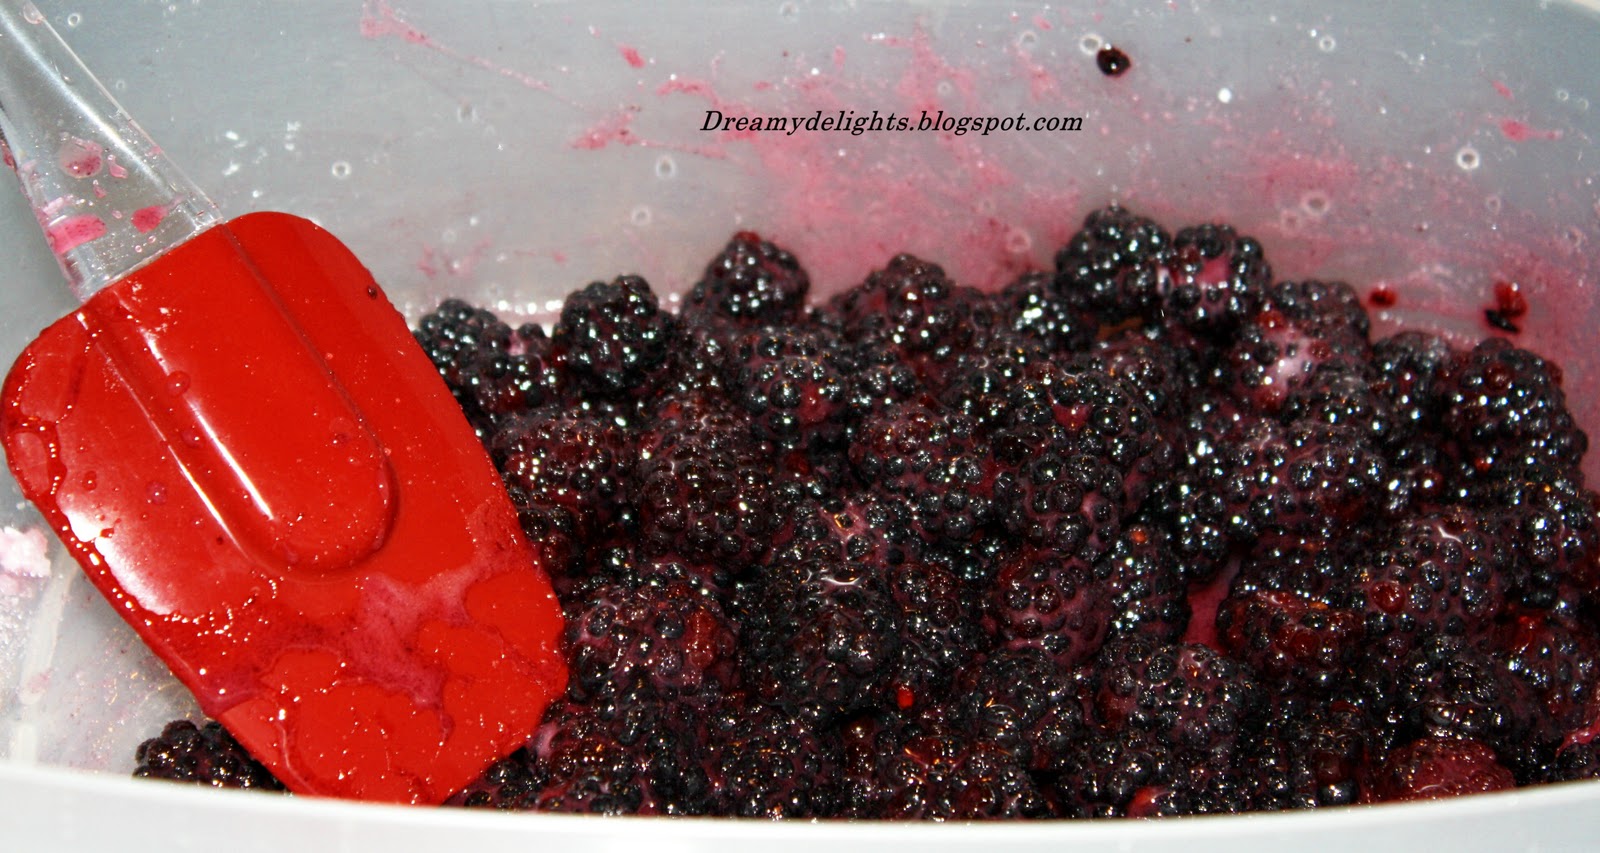
Wash and drain berries. In a bowl mix dry berries , sugar, lemon juice and cornstarch well (all the ingredients under fillings).


Empty the contents along with the juices into a well buttered baking pan . Press it down with a spatula , just be careful not to mush the berries


In another bowl mix all the contents for the topping either with a fork or hands. It will resemble coarse crumbs. Empty the contents evenly on the filling .


Bake it for 45 mns. Once it’s done cool it ,serve it barely warm with a scoop of vanilla ice cream.

Tuesday, May 25, 2010

Jangri or Jalebi??


Hmm as usual our (mom and i) talk ended up in food. Almost 99% of the time it’s the same thing. The other day I came across a name “ Jangri”, I thought it’s some new dish , when I opened the recipe I realized it’s our old Jalebi. Pardon me if I am wrong, in Kerala I have never heard a sweet by name Jangri, it’s Jalebi there. So I started telling my mom about this and she started telling me the story about how she learned to make Jalebi.

In my mom’s house when they had a wedding they used to bring the Brahmins famous for making sweets and stock up on all these goodies. She used to go near the work place and watch them make ladoos, jalebis etc. My grandmother never allowed them to enter the kitchen, so when she takes a nap, my mom would sneak in and make all these. So for tea the whole family will relish on the snack and later comes my mom’s punishment for entering the kitchen. Even when we used to make something my grandmother was so concerned at the same time proud, hmm miss those days.

My mom used to stitch special clothes for making jalebis, she’ll make a small hole in between the cloth and stitch around. This will make sure that cloth won’t tear, or I have seen her heating up metal skewer and making hole in the center of plastic bags.

All these details made me so excited that I decided to give it a try. The result was really good, I made almost 2 dozen. After making the batter try the design (Draw two circles, over it draw small circles ) on a plate, this helps a lot when you are making them. I hope you will also like it, enjoy………

Ingredients:

Jangri:

Whole white urad dal-  1 cup
Rice flour (optional)-  1 tbsp
Orange food color/ Jalebi Color-  a pinch
Water- Less than ¼ cup
Salt - a pinch

For Sugar syrup:

Sugar- 3/4 cup
Water- Just to cover the sugar
Lemon juice- 1/2 tsp
Rose essence/ crushed cardamom pods/ saffron strands-  4 drops/4 pods/ a pinch
Orange food color/ Jalebi Color-  a pinch

Method:

Soak urad dal for atleast 2hrs. Grind with very little water ( Add little water at a time to make smooth batter, it shouldn’t be watery). Make a smooth and fluffy batter. To this add salt, color and rice flour. Mix well.

In a shallow pan heat the sugar with water, Let it boil for 3-4 minutes. Add lemon juice, food color and essence or cardamom pods or saffron .Mix well and switch off the stove.

Take a zip lock bag and make a small hole with a thin nail or metal skewer.


Heat oil in a flat bottomed pan. The heat should be low .The oil should not get fully heated, when it starts forming small bubbles in the bottom put a drop of the batter. If the batter rises fast then the oil is too hot. If it stays there for sometime and then rises up then the temperature is perfect. Using the batter in ziplock bag make jangris.

Once the jangris gets cooked on both sides, take out carefully and put them in the sugar syrup.

Remove the jangris from the hot sugar syrup after 4-5 minutes .

Note:

If you are using mixer grinder, stop it in between grinding, this will avoid the batter from getting hot.

If you are using food processor it just takes 15mns to grind the batter and no need to stop in between.

If you are using wet grinder, you can avoid adding rice flour. Again this is optional. Without rice flour it becomes too crispy and more of urad dal taste.


I am sending this to Celebrating Mom Event started by Shabitha Karthikeyan

Thursday, May 13, 2010

Fresh Fruit Tart


Recipe Courtsey : Laura Carmen

I am dedicating this dish to all the wonderful mothers out there. My mom loves fruits and custard, so I made this for her on Mother’s Day. Light crispy crust, flavorful custard and fresh bright fruits made it a very elegant dish. She loved it and so did my husband and son. My baby had made some gifts for me and so this Mother’s Day was Extra Special for me. I hope you all had a great day and enjoyed it well.

Tart crust:

Butter, cold- 8 tablespoons
Sugar- 1/4 cup
Flour- 1 1/2 cups
Salt- 1/8 tsp
Egg yolk- 1 large
Half & Half/ Milk- 2-3 tablespoons

In a bowl add the flour, sugar, salt and combine well. Grate or cut the cold butter. Add this to the bowl and mix well. Add the yolk and cream/milk and mix well. The dough should be crumbly (not wet) but should hold together when pinched.

Transfer the dough into a 9 .5 by 1 inch tart pan or pie plate and press into the pan with your palms, working the dough up the sides with your fingers and pressing it evenly around the rim. Trim any overhanging bits of dough. Chill for 20 minutes while you preheat the oven to 325 F. Bake for 10-12 minutes or until the crust is golden. (I used a pie plate and it took like 25mns for me, for tart pan may be it will take only 10-12 mns. Keep an eye on the crust while baking and wait till it becomes golden)

Custard:

Large eggs- 2
Cornstarch- 3 tablespoons
Half-and-half- 2 cups
Sugar- 1/2 cup
Pinch of salt
Vanilla extract- 1 teaspoon
Butter- 1 tablespoon

In a small bowl, whisk together the eggs and cornstarch until the cornstarch is completely absorbed. Whisk in 1/2 cup of the half-and-half. In a saucepan, combine the remaining half-and-half, sugar and salt and bring to a boil. Whisk 1/2 cup of the hot half-and-half mixture into the eggs, then pour all of the egg mixture back into the boiling half-and-half, whisking constantly. The mixture will become very thick. Remove from heat and whisk in the vanilla and butter.

Transfer to a bowl and immediately press a piece of greased plastic wrap over the top of the cream to prevent a “skin” from forming.


Assemble the tart:

When the custard and tart crust have cooled, spoon the cream into the crust and spread evenly with a spatula. Arrange slices of strawberries, kiwi, apricots, and whole berries on top of the cream in circles, starting along the outer edge. When assembling is complete, brush the fruit gently with melted fruit jelly. (Place 1/4 cup in the microwave in a small glass bowl, then brush on with a pastry brush. If all you’ve got is jam, melt it and strain it.)


Note:

The crust can be prepared using a food processor, put the dry ingredients and pulse it few sec. To this add the wet ingredients and pulse it for few seconds.

Wednesday, April 28, 2010

Peas Pulav/ Peas Pulao


An easy way to jazz up rice. This is a perfect dish for parties and fun tiffin for kids

Ingredients

• Basmati rice – 1 cup
• Onion sliced -1/2 medium
• Green chillies slit - 1-2
• Cumin seeds- 1 tsp
• Cloves- 2
• Cinnamon- 1/2 inch
• Cardamom- 2
• Frozen Green peas- 1/2 cup
• Water- 2 cups
• Salt- to taste
• Oil - 1 tbs

Method:

1. Wash rice and set aside to drain

2. In a pan heat oil,add cumin seeds,cloves,cinnamon, cardamom,green chillies and saute well. To this add onions and sauté till onions turns translucent . To this add frozen peas

3. Add the rice and mix well

4. Add water, salt and bring it to a boil. Cover the pan. On low- med heat cook the rice for 15- 20 mns

5. Once it’s done remove from heat and fluff the rice slowly and serve warm with curry of your choice.

Thursday, April 22, 2010

Shrimp Fry


This is a quick fix when I am out of time or when I am lazy to cook :). This can also be served as an appetizer.

Ingredients:

Shrimp/ Prawn- 1 lbs (cleaned and deveined)
Chilli Powder- 1 Tbs
Tumeric Powder- ½ Tsp
Salt- as needed
Curry Leaves- 1 spring (optional)
Oil- to fry

Method:

Clean and devein the shrimp. Pat dry the shrimp and marinate it with chilli powder, turmeric powder, salt and crushed curry leaves. Marinate for atleast 30 mns. In a pan heat some oil and add the marinated shrimp and cook it on low –med heat until the shrimp turns golden, 10- 15mns.

Friday, April 16, 2010

Eggless Naan


My little one loves Naan, he can have it for bf, lunch and dinner. I always thought it involved lot of work, last Friday night I was thinking about week end breakfast. Somehow Naan just came to my mind and thought of trying it. I first thought of baking it, but felt like experimenting. Heated up my cast iron tava ( skillet, pan anything will do, but it needs to cast iron) and just 2-3 mns per side and it came out all puffed up and soft. This week I made Naan twice, my little one was so happy. I made it eggless, if you want you can add 1 egg and it makes it rich.

Ingredients:

All Purpose Flour- 2 cups
Yeast- 1 tsp
Luke warm water- ½ cup
Sugar- 1 tsp
Salt- 1 tsp
Milk- ¼- 1/2 cup (room temperature)
Minced Garlic, onion, Kalonji ( for topping , optional)

Method:

In a bowl mix the luke warm water, yeast & sugar, mix well. After 5-10 mns it will rise. In a mixing bowl add the flour, salt and mix well, to this add the yeast mixture and mix well. Add milk to this little at a time, the dough will be very sticky. Drizzle some oil on top of the dough and close with a lid or towel. Let it rise for 30 mns - 1hr.


After an hr open the lid and punch down the dough and mix well. Oil your hands well before that. Take some oil and flour in separate bowls. Oil your hands well, take a ball of dough and make a smooth ball. Dust it with little flour. Dust the work station with flour and put the dough and press it down with your palm. When it reaches a small round disc shape, you can either toss it between both palms or roll it. Make a tear shape by dragging one end of the dough.

Heat the skillet or pan to the highest , once it’s hot bring the heat down a little bit and put the naan, 2-3 mns per side, turn the naan and you can apply little butter. Continue the same process with rest of the dough. You can add toppings before putting the naan on the tava. Enjoy….


Note: If you don't have a cast iron tava or pan, you can bake it in oven. Pre-heat the oven at the highest heat (500/ 550). If you have Pizza stone , keep it in the oven while preheating the oven. Once the oven is heated take the stone out place the naan on the stone and place it on the top rack close to the source of heat .If it's a  cookie sheet ,lay them on the sheet and place on the rack close to the heat .                                              


Tuesday, April 6, 2010

No Knead Ciabatta Bread


Recipe courtesy: Food Wishes

I always wanted to bake bread , somehow I didn’t have the courage. May be it’s my previous experience with bread had stopped me. Back in india, before my marriage Sundays used to be my culinary experimental days: white rats? My parents and two dogs :). Once I came across this awesome honey bread recipe, I decided I am gonna make it. My mother being wiser told me to use half the quantity since it’s an experiment. Well no , I was very sure that this will be a success and I some how convinced her. The ingredients were 1kg all purpose flour, honey and blah blah blah. I made it according to the instructions and a golden brown loaf was the result. I made tea and invited my parents to the table. Hmmm you should have the seen the look on my father’s face, as if his daughter has conquered the world. They both sat down and I started slicing the bread, well the knife was not moving. How do you cut a chicken? Yeah I had to use the same butcher knife and the force. My mother was hesitant on trying the piece like thing I had served, but my dad somehow managed to nibble something from the sides and he was so happy that his daughter made “BREAD AT HOME”.

The saddest part is that since I didn’t want to hurt my parents tooth anymore I happily gave the bread to my dogs and they rejected it. After the first bite they gave me a stare that I will never forget. From that day I never went near them alone, who knows whether they will take the revenge???

Anways this Ciabatta bread came out well and my family loved, especially my little one. I made it one V- Day. Because of his curiosity he started poking the bread which I had kept on the table to cool down. I was trying to keep him away from my bread and forgot to switch of the oven with my Parmesan chicken and nearly burned it. Well life is not that easy!!!

Ingredients:

Bread flour / All Purpose Flour- 4 cups
Yeast- 1/4 tsp
Water- 2 cups
Salt- 1 1/2 tsp

Method:

In a mixing bowl, mix together flour, yeast, water and salt together. It comes out as a very sticky dough. Cover the bowl with silver foil and keep it at room temperature to rise for 18 hrs.


After 18 hrs, you’ll get a very bubbly sticky dough. On a silver foil or plastic sheet sprinkle some flour and scrape down the dough. Sprinkle some more flour on top of the dough and slowly punch down the air. Stretch it into long flat loaf. On a baking sheet spray some oil and sprinkle corn meal generously. Transfer the dough to the sheet and shape the loaf once more. Cover it with a kitchen towel and let it rise for 3 hrs.


Pre-heat the oven to 425 C. Fill a loaf pan with water and keep it inside the oven. Steam from this will give the bread a nice crust and chewy inside. Bake the loaf for 35- 45 mns. Cool it over a wire rack and enjoy….


My little one having fun !!!

All recipes are on Petitchef

Search This Blog